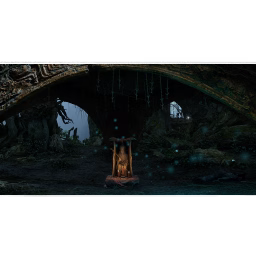
Avian Marsh Walkthrough
 Avian Marsh is a vast, labyrinthine optional area accessible from the
  Refugee Camp. It is teeming with dangerous enemies, hidden treasures, and powerful secrets, culminating in a major boss fight against the
 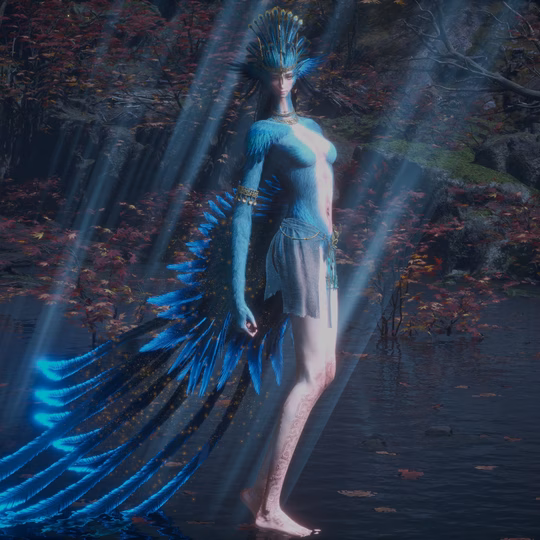 Bo Sorcerer. This guide will walk you through the most efficient path to collect all key items and unlock all shortcuts.
1. The Entrance & Avian Dwelling Shrine
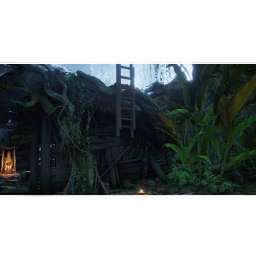
Section titled “1. The Entrance & Avian Dwelling Shrine”Your journey begins from the ladder near the White-Robed Elder in the Refugee Camp.
-
Enter the Marsh & Face the Giant Avian Descend the ladder and enter the cave. You will emerge into an open area patrolled by a Giant Avian. This is a tough optional mini-boss. Defeating it rewards you with a
 Radiant Red Feather and
 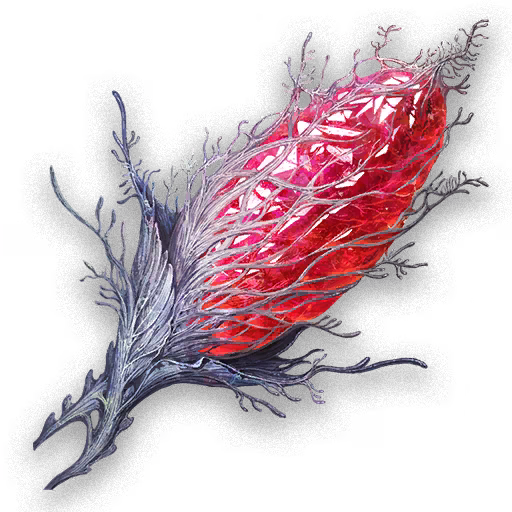 Blood of Wangdi. You can also choose to ignore it for now by hugging the left wall.
 -
Reach the
 Avian Dwelling Shrine
Follow the path up the slope on the left side of the area. At the top, you will find the Shrine: Avian Dwelling and the Red-Clad Lady.
Avian Dwelling Shrine
Follow the path up the slope on the left side of the area. At the top, you will find the Shrine: Avian Dwelling and the Red-Clad Lady.- When she asks you a question, select “I agree” to receive the Spell:
 Divine Blessing and progress her questline.
Ending Note: Agreeing with the Red-Clad Lady here is a requirement for unlocking the “Successor of the Bo” ending.
- When she asks you a question, select “I agree” to receive the Spell:
2. The Lower Marsh Path
Section titled “2. The Lower Marsh Path”From the Avian Dwelling, your next goal is to reach the central part of the marsh.
-
Descend to the Lower Level Head back down the slope from the shrine and go right, following the main path. You will find a ladder leading down a cliff.
Warning: A Lotus Sorcerer on the far side of the cliff will shoot at you as you descend. Wait for it to fire, then quickly climb down to avoid being knocked off.
-
Activate the
Avian Marsh Shrine
At the bottom of the ladder, be wary of a Harvester enemy that will transform into a fast and poisonous Leech. To your right, inside a small shack, you will find the Shrine: Avian Marsh. Activate it to establish a central checkpoint for this sprawling area.
3. The Eastern Loop (Demon Manifest & Pearl Pendant)
Section titled “3. The Eastern Loop (Demon Manifest & Pearl Pendant)”From the Avian Marsh Shrine, we will first explore the path to the left.
-
Ascend the Upper Path Take the path leading upwards, past the dangerous spinning Clams. At the top, defeat the Lotus Sorcerers and continue along the path. At the end, you will find the Benediction:
 Wei - Blightful Wounds.
 -
The First Shortcut & The Demon Trap Nearby, you can kick down a ladder that leads directly back to the
Avian Marsh Shrine, creating a useful shortcut. Now, backtrack slightly to a gray, withered nest on the ground. Stepping on it to grab the item will cause you to fall into a pit.- Here, a powerful Inner Demon will manifest. Defeat her to receive
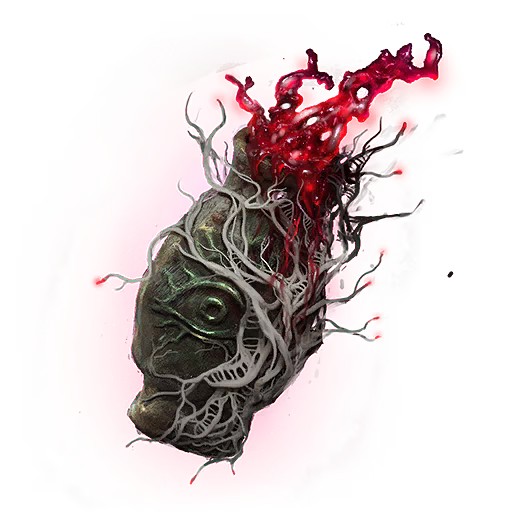 Bo Blood, a
 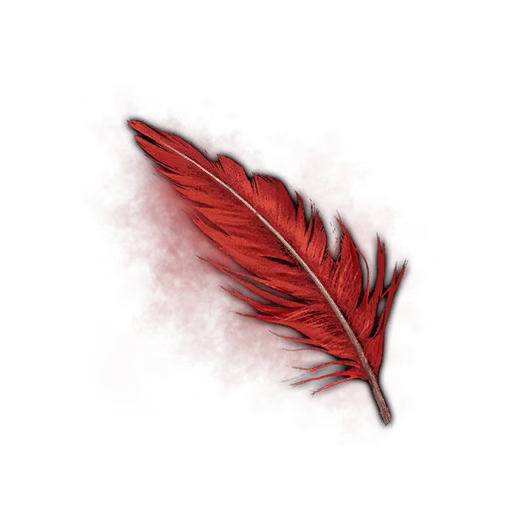 Brilliant Red Feather, and the Needle:
  Root Stone Needle - Status.
- Here, a powerful Inner Demon will manifest. Defeat her to receive
-
The
 Pearl Pendant
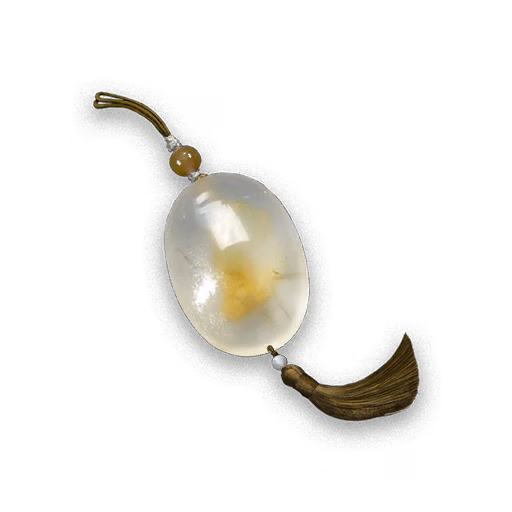
Climb out of the pit and follow the path. You will see an item in a shallow pool of water. This is a trap! A Giant Clam is hidden underwater. Lure it out and defeat it, then safely pick up the Jade Pendant: Pearl Pendant.
Pearl Pendant
Climb out of the pit and follow the path. You will see an item in a shallow pool of water. This is a trap! A Giant Clam is hidden underwater. Lure it out and defeat it, then safely pick up the Jade Pendant: Pearl Pendant.
4. The Western Loop (Shortcuts & Secrets)
Section titled “4. The Western Loop (Shortcuts & Secrets)”Return to the Avian Marsh Shrine and heal if needed. Now we will explore the wider area to unlock more shortcuts and find key items.
-
The Invisible Path &
 Ta - Poise Force
Follow the main path until you find a large nest on the ground. Grabbing the item will once again cause you to fall. Down here, look for glowing rocks on the walls. These indicate an invisible path. Carefully navigate it to find a chest at the end containing the Benediction: Ta - Poise Force. You can also find a
Ta - Poise Force
Follow the main path until you find a large nest on the ground. Grabbing the item will once again cause you to fall. Down here, look for glowing rocks on the walls. These indicate an invisible path. Carefully navigate it to find a chest at the end containing the Benediction: Ta - Poise Force. You can also find a  Bamboozling for a
 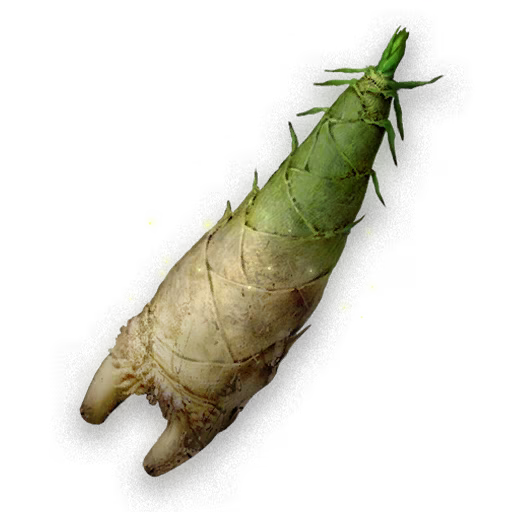 Bamboo Shoot in this area.
 -
The
 Secret Letter
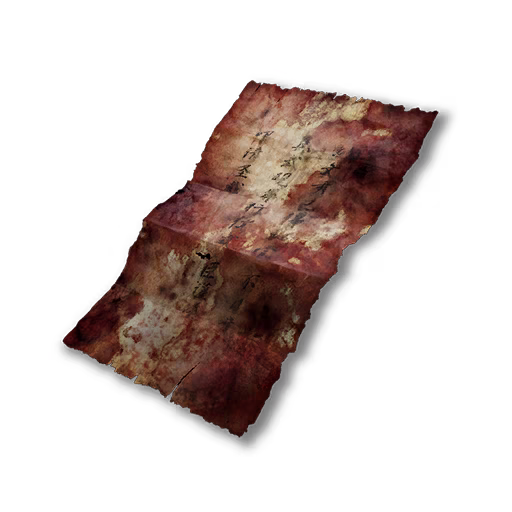
Climb out of the pit and continue upwards. You will have to fight or avoid several aggressive Avian enemies. At the top of a nest structure, you will find the Secret Letter, a key item for
Secret Letter
Climb out of the pit and continue upwards. You will have to fight or avoid several aggressive Avian enemies. At the top of a nest structure, you will find the Secret Letter, a key item for 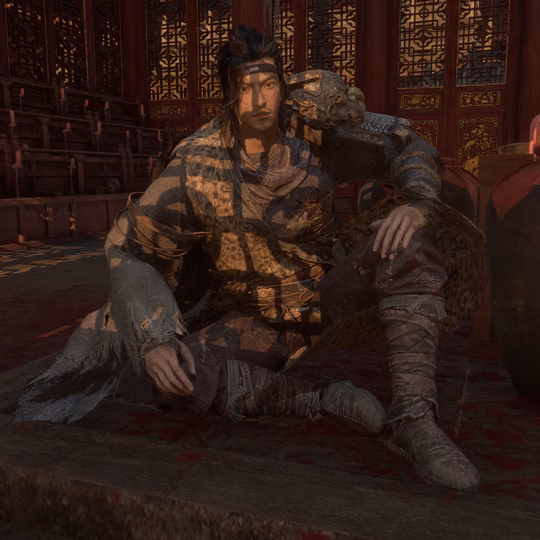 Li Dingo’s questline.
 -
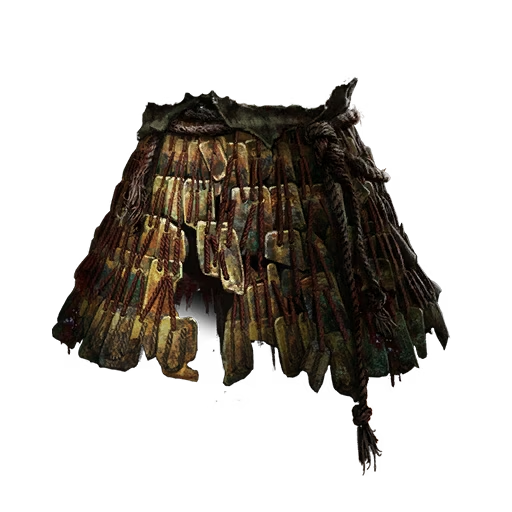 Bronze Armor &
 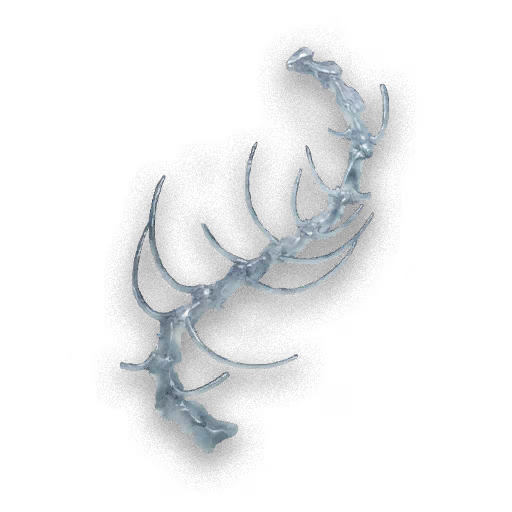 Lost Remains
Follow the high paths until you see three avian enemies fighting. The Bronze Armor valuable is near them. From this area, find a ladder leading down to a lower platform. Here you will find a large chest containing Lost Remains.
Lost Remains
Follow the high paths until you see three avian enemies fighting. The Bronze Armor valuable is near them. From this area, find a ladder leading down to a lower platform. Here you will find a large chest containing Lost Remains. -
 Shan - Blight Defense Benediction
From the
Shan - Blight Defense Benediction
From the Lost Remainschest location, climb back up and look for a platform you can jump down to. A small chest on this ledge holds the Benediction: Shan - Blight Defense.
5. The Underground Path to the Boss
Section titled “5. The Underground Path to the Boss”With most of the area explored, it’s time to head for the boss arena via the underground tunnels.
-
Enter the Underground Navigate the tunnels, being mindful of falling rotten fruit and Lotus Sorcerers. You will eventually reach a large cavern.
-
Find the
 Forgotten Remembrance &
 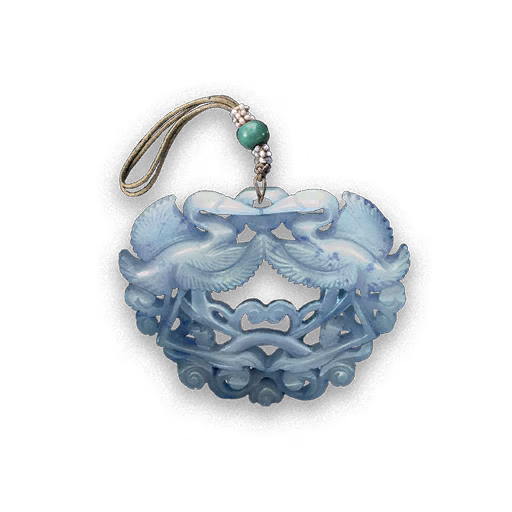 Crane Pendant
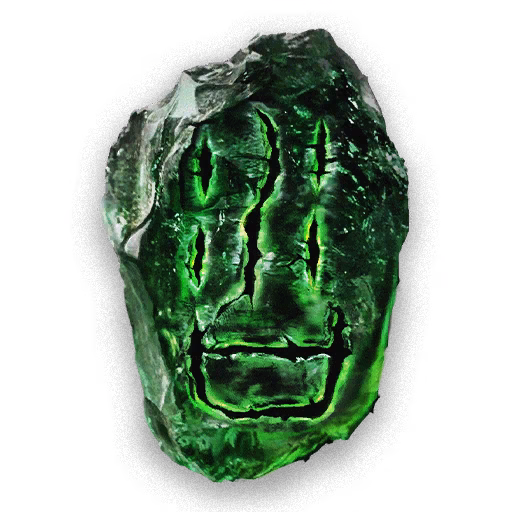
- In the middle of the cavern, drop down to a lower platform to find a large chest containing a Forgotten Remembrance.
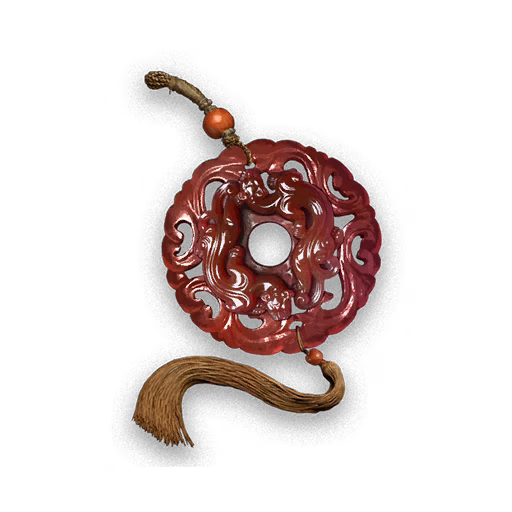
- Follow the ramps upwards until you find a ladder. At the top, a small chest holds the Crane Pendant.
- In the middle of the cavern, drop down to a lower platform to find a large chest containing a
-
Meet the White-Robed Elder Cross the bridge in front of you. If you have been following his quest, you will find the White-Robed Elder waiting. He will join you for the upcoming battle.
-
The Final Shortcut & The
 Plume Vortex Spell
Go past the Elder and through the huts to release one final ladder leading back down to the Avian Marsh Shrine. Before heading to the boss, make sure to follow the path from this shortcut to find a body holding the Spell: Plume Vortex.
Plume Vortex Spell
Go past the Elder and through the huts to release one final ladder leading back down to the Avian Marsh Shrine. Before heading to the boss, make sure to follow the path from this shortcut to find a body holding the Spell: Plume Vortex.
6. Boss Fight: Bo Sorcerer
Section titled “6. Boss Fight: Bo Sorcerer”With all shortcuts unlocked, rest at a shrine and prepare for the final confrontation. Head to the massive cavern with the soaring tree and pond.
- Summon the White-Robed Elder: Use your Flute at the start of the fight to summon your ally. He will draw aggro and deal significant damage.
- High Resistance: Equip armor with high Blight and Magic resistance to mitigate her most dangerous attacks.
- Attack Openings: The safest time to attack is right after she lands from one of her aerial leaping attacks. Be patient and wait for these clear openings.
Upon defeat, the Bo Sorcerer drops the  Echo of the Bo Sorcerer.
After the Fight: The Tigraliz Pendant
Section titled “After the Fight: The Tigraliz Pendant”The Elder’s quest is not over.
- Return to the Avian Dwelling Shrine area.
- Near the entrance, find a new path that has opened up leading to The
 Tomb.
Tomb. - The White-Robed Elder will be sitting inside. Speak with him one last time to receive your final reward: the
 Tigraliz Pendant.
Key Items & Collectibles Summary
Section titled “Key Items & Collectibles Summary”Benedictions
Section titled “Benedictions”- Wei - Blightful Wounds: On the upper eastern path from the
Avian Marsh Shrine. - Ta - Poise Force: At the end of an invisible path in the western section.
- Shan - Blight Defense: On a drop-down ledge near the
Lost Remainschest.
Pendants & Key Items
Section titled “Pendants & Key Items”- Pearl Pendant: In a water trap guarded by a Giant Clam.
- Crane Pendant: In a chest in the upper levels of the underground area.
- Tigraliz Pendant: Reward from the White-Robed Elder in The Tomb after the boss fight.
- Secret Letter: In a high nest in the western section of the marsh.
- Echo of the Bo Sorcerer: Dropped by the boss.
Spells & Needles
Section titled “Spells & Needles”- Spell: Divine Blessing: Reward from the Red-Clad Lady.
- Spell: Plume Vortex: On a body near the final shortcut to the boss.
- Needle: Root Stone Needle - Status: Dropped by the Inner Demon.
Permanent Upgrades & Valuables
Section titled “Permanent Upgrades & Valuables”- Lost Remains: In a chest on a lower platform in the western section.
- Forgotten Remembrance: In a chest in the underground area.
- Bronze Armor: Near three fighting avian enemies.
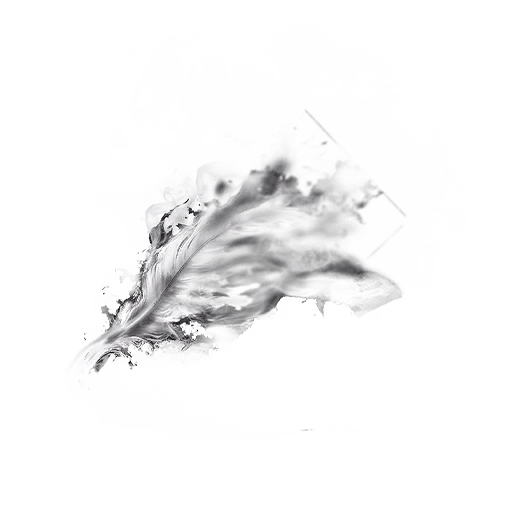
Feathers
Section titled “Feathers”- Radiant Feathers: Dropped by the Giant Avian and found elsewhere.
- Brilliant Feathers: Dropped by the Inner Demon and found in various locations.